

How to replace the glue tank in an Automatic Box Gluing Machine?
Jun 17, 2025
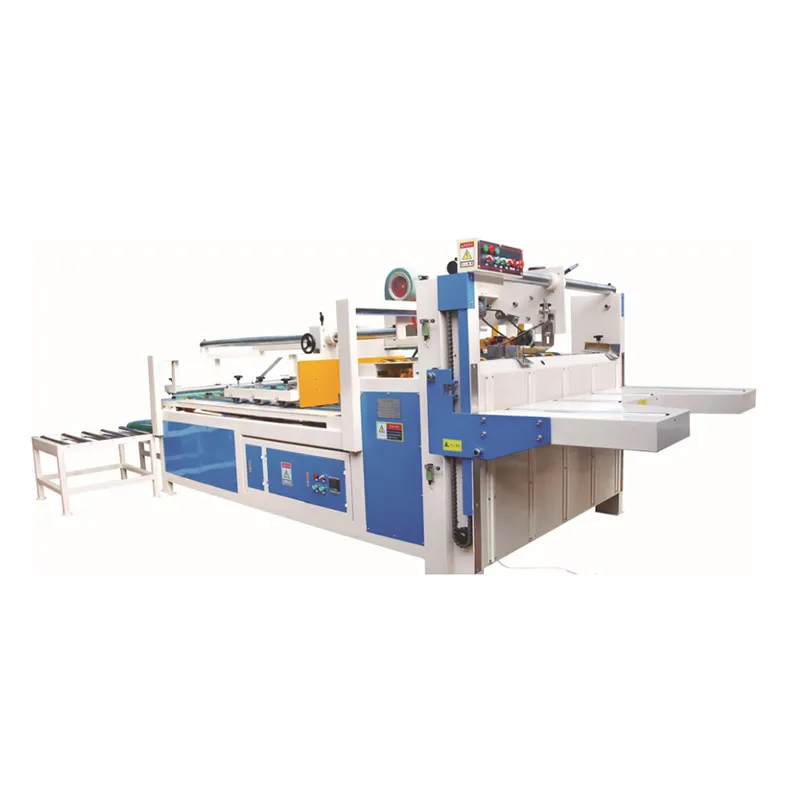
Hey there! As a supplier of Automatic Box Gluing Machines, I often get asked about various maintenance tasks, and one of the most common ones is how to replace the glue tank. In this blog post, I'll walk you through the step-by-step process of replacing the glue tank in an Automatic Box Gluing Machine.
First off, let's talk about why you might need to replace the glue tank. Over time, the glue tank can wear out, get clogged, or simply need an upgrade. A well-maintained glue tank is crucial for the smooth operation of your Automatic Box Gluing Machine, as it ensures that the right amount of glue is applied to the boxes consistently.
Step 1: Gather Your Tools
Before you start, make sure you have all the necessary tools. You'll typically need a set of wrenches, a screwdriver, a clean cloth, and a new glue tank that's compatible with your machine. It's also a good idea to have some safety equipment, like gloves and safety glasses, to protect yourself during the process.

Step 2: Power Down the Machine
Safety first! Before you do anything, turn off the power to the Automatic Box Gluing Machine. This will prevent any accidental start-ups and keep you safe while you're working on the glue tank. You should also unplug the machine from the power source to be extra cautious.
Step 3: Drain the Glue
Next, you'll need to drain the remaining glue from the old tank. Most machines have a drain valve at the bottom of the glue tank. Place a container underneath the valve to catch the glue, and then open the valve to let the glue drain out. Make sure to drain as much glue as possible to avoid making a mess when you remove the tank.
Step 4: Remove the Old Glue Tank
Once the glue is drained, it's time to remove the old glue tank. Start by removing any screws or bolts that are holding the tank in place. You may need to use your wrenches or screwdriver for this. Be careful not to lose any of the small parts as you remove them.
After you've removed the fasteners, gently lift the old glue tank out of the machine. It may be a bit heavy, so enlist some help if needed. Place the old tank aside for proper disposal or recycling.
Step 5: Clean the Area
With the old glue tank removed, take a moment to clean the area where the tank was located. Use a clean cloth to wipe away any leftover glue or debris. This will ensure a clean surface for the new glue tank and prevent any contaminants from getting into the glue system.
Step 6: Install the New Glue Tank
Now it's time to install the new glue tank. Carefully lower the new tank into the machine, aligning it with the mounting holes. Make sure it fits snugly and is properly positioned.
Once the new tank is in place, replace the screws or bolts that you removed earlier. Tighten them securely, but be careful not to overtighten, as this could damage the tank or the machine.
Step 7: Connect the Hoses and Wires
The glue tank is usually connected to the machine by a series of hoses and wires. Make sure to reconnect these properly. Check the connections to ensure they're secure and there are no leaks. If you're unsure how to connect the hoses and wires, refer to the machine's manual or contact our support team for assistance.
Step 8: Fill the New Glue Tank
After the new glue tank is installed and connected, it's time to fill it with glue. Use a suitable glue that's recommended for your machine. Slowly pour the glue into the tank, being careful not to overfill it. Leave some space at the top of the tank to allow for expansion.
Step 9: Power Up the Machine
Once the glue tank is filled, plug the machine back into the power source and turn it on. Check to make sure the glue is flowing properly and that there are no leaks. You may need to run the machine for a few minutes to prime the glue system and ensure everything is working as it should.
Step 10: Test the Machine
Finally, test the Automatic Box Gluing Machine by running a few boxes through it. Check the quality of the glue application and make sure the boxes are being glued correctly. If you notice any issues, such as uneven glue application or leaks, stop the machine and double-check your work.
And that's it! You've successfully replaced the glue tank in your Automatic Box Gluing Machine. Remember, regular maintenance is key to keeping your machine running smoothly and extending its lifespan.
If you're in the market for a new Automatic Box Gluing Machine or need any replacement parts, we've got you covered. We offer a wide range of high-quality machines, including the Automatic Carton Folder Gluer Machine, Automatic Carton Folding Gluing Machine, and Cardboard Gluing Machine. Our machines are designed to be reliable, efficient, and easy to maintain, so you can focus on your business without worrying about equipment issues.
If you have any questions or need further assistance, don't hesitate to reach out to us. We're here to help you find the right solutions for your packaging needs. Whether you're a small business or a large corporation, we can provide you with the support and products you need to succeed.
So, what are you waiting for? Contact us today to learn more about our Automatic Box Gluing Machines and start improving your packaging process!
References
- Manufacturer's manual for the Automatic Box Gluing Machine
- Industry best practices for glue tank replacement in packaging machines